Styling Open Shelving in the Kitchen

,

Open Shelves. Whether you love them or hate them, this trend has reigned the interior design world for the better part of the last decade. As an interior designer, I often find myself a little giddy at the thought of styling them, because there is so much opportunity to add personality, character, and statement pieces in an otherwise sterile environment — The kitchen! But just because open shelving in the kitchen can make the room appear larger and more open, it doesn’t mean it’s less intimidating to constantly have your dishes on display for anyone to see. Still, you shouldn’t let that fear stop you from having the gorgeous shelves you’ve been dreaming of. I’m going to be sharing some tips and tricks to help you master styling your shelves. They’ll look so good, even your mother-in-law will be impressed! (No guarantees though!)
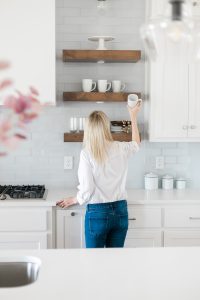
First, let’s start with the essential items: Your everyday dishes. These are the items that you will be reaching for regularly. Cups, bowls, plates, wine glasses… whatever you consider essential. Make sure these are cohesive sets. This is not the place to put random mismatched dishes that you’ve had forever. Keep within a color palette, and try not to mix old and new. We don’t want our shelves looking like a garage sale. Once you have your cohesive base of everyday items, you can begin sprinkling in the items that fit into your color scheme, but perhaps aren’t necessarily everyday use such as vases, pitchers, larger bowls, or anything fitting into the theme. If the shelf is big enough, I even like to put wooden utensils in a canister and place them up there!
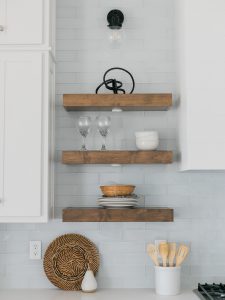
Vary the heights on the shelves to keep things interesting. You don’t want every single shelf to have a single row of bowls. Stack glasses or add cookbooks to give variation and height to otherwise single, lonely items. Cake stands are also a great way to elevate items and display them!
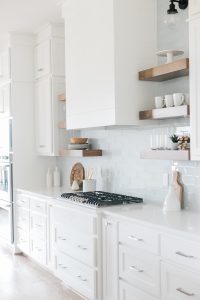
Lastly, I love to add texture, interest, and warmth. This is where the personality can shine through! Greenery is a great way to add an organic pop of color. I also love styling with cutting boards of all shapes and sizes (vintage ones being my favorite!). The wood tones really help break up all the dishes and create visual harmony. Cookbooks are a great way to add some color – just make sure you aren’t introducing too many colors!
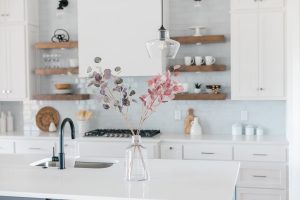
No matter what you plan on doing with your shelves, the most important thing (besides dusting them often!) is balance. Make sure that you don’t overload one area with one color or texture or amount and not the other. Balance is absolutely the key to having beautifully styled open shelves.

Now that you know the tricks, get out there and make your kitchen shelves the envy of all of your neighbors!

Juliet Young, Interior Designer

The featured kitchen is a newly constructed home built by Lance Johnson Building Company and styled & photographed by Juliet Young Interiors.

Lakehouse Chocolate Chip Pecan Cookies

Twenty-five years ago when I first joined the Lake family, I quickly learned a few things.

1. Sweet tea is the ONLY way to drink tea

2. Lake’s LOVE to bake

That’s all it took to know I was destined to be a Lake.  I mean, is there anything better than good food AND sweet tea!  Over the years we’ve shared many moments gathered around the table, and as our family has grown, these treasured traditions have been passed along to our children.  My nieces amaze me with their gifts of hospitality and food presentation.

One of the first recipes I recall asking my mother-in-law Beverly to share, was for her coveted chocolate chip cookies.  These are so easy to make and stand out from any other recipe.  They are always a crowd-pleaser and my go-to potluck dessert.  My most memorable delivery of cookies was for the Labor & Delivery and NICU staff at the hospital after the premature birth of my son.  After experiencing pregnancy complications, my son was born three months early which earned him an eight-week all-inclusive stay in the NICU.  At the time, delivering a basket of ten dozen cookies for the hospital staff seemed like such a small token of thanks.  It wasn’t until years later that I learned how much it had meant to the staff after receiving a Facebook message from a friend asking if I was the one who had delivered cookies to the hospital.

Just as we’ve shared these cookies with so many over the years, our family is sharing Beverly’s recipe with you.  Our only request is that you also gift a dozen or two….or three.

Enjoy!

Barbie Lake


Heat oven to 350°F.  Line a baking sheet with parchment paper and set aside.

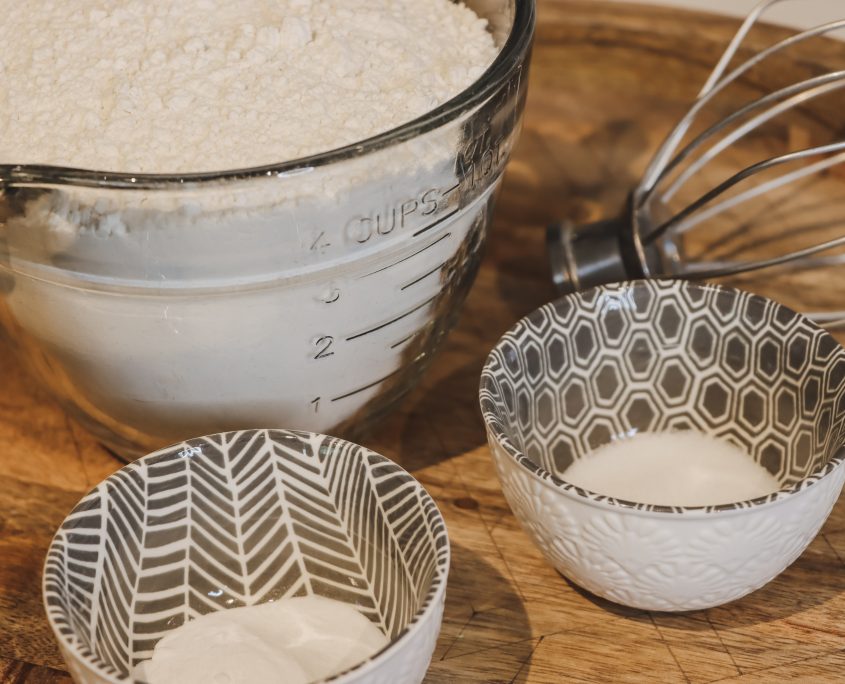
Combine the dry ingredients.  In a medium bowl, whisk together the flour, baking soda and salt until combined.  Set aside.


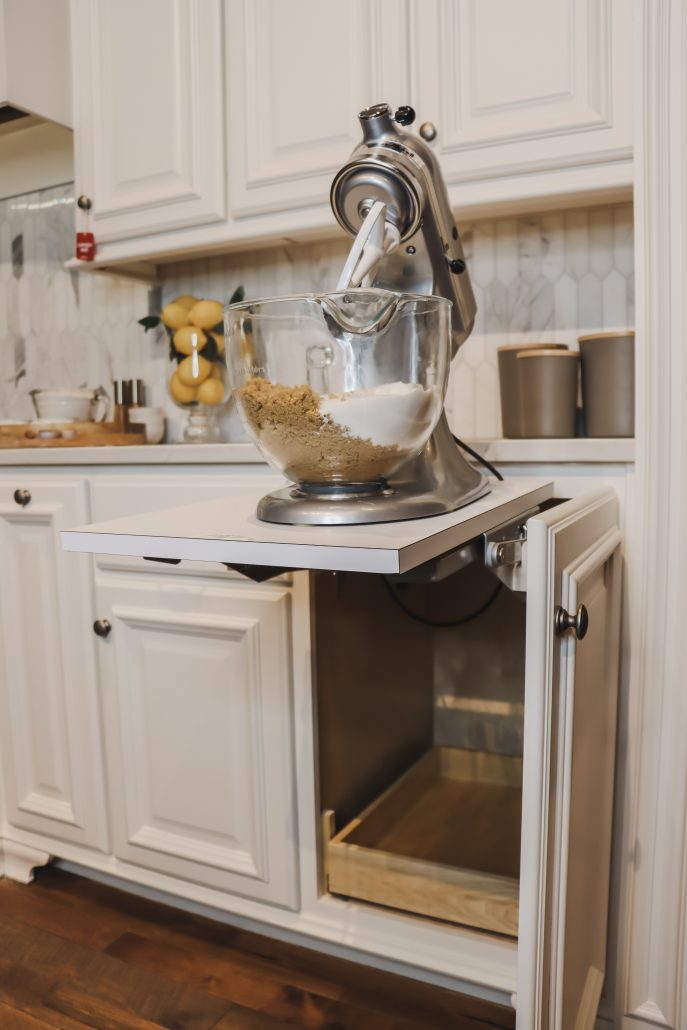
Cream together the Crisco and sugars.  In a separate mixing bowl, cream together the Crisco and sugars with a stand mixer or handheld mixer on medium-high speed about 2 minutes until the mixture is light and fluffy.

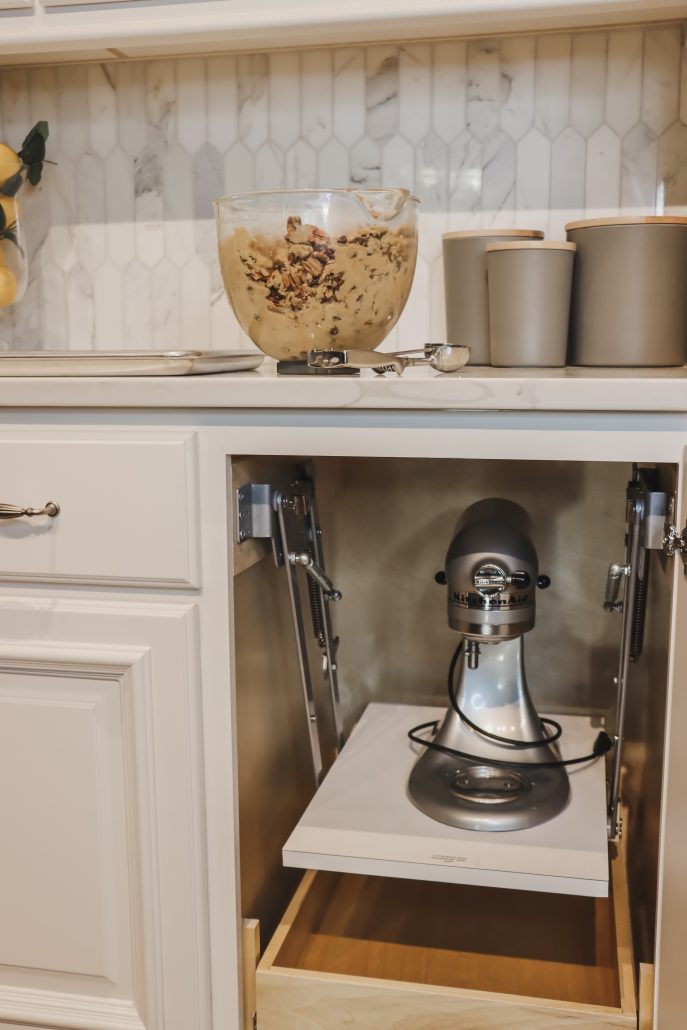
Can we stop a minute to brag on this Mixer Lift!  This kitchen star not only frees up counter space but also provides easy to access storage when not in use.  


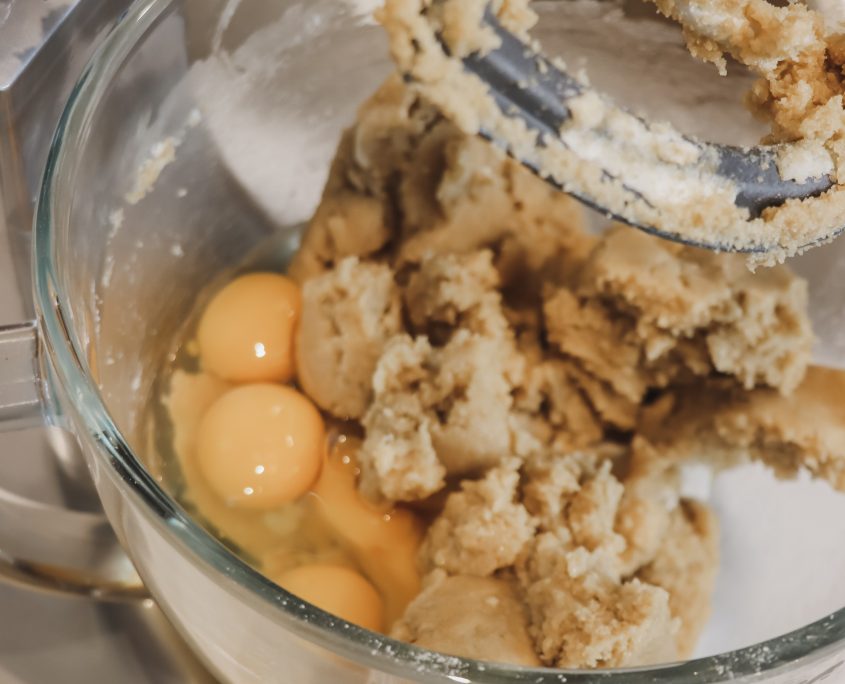
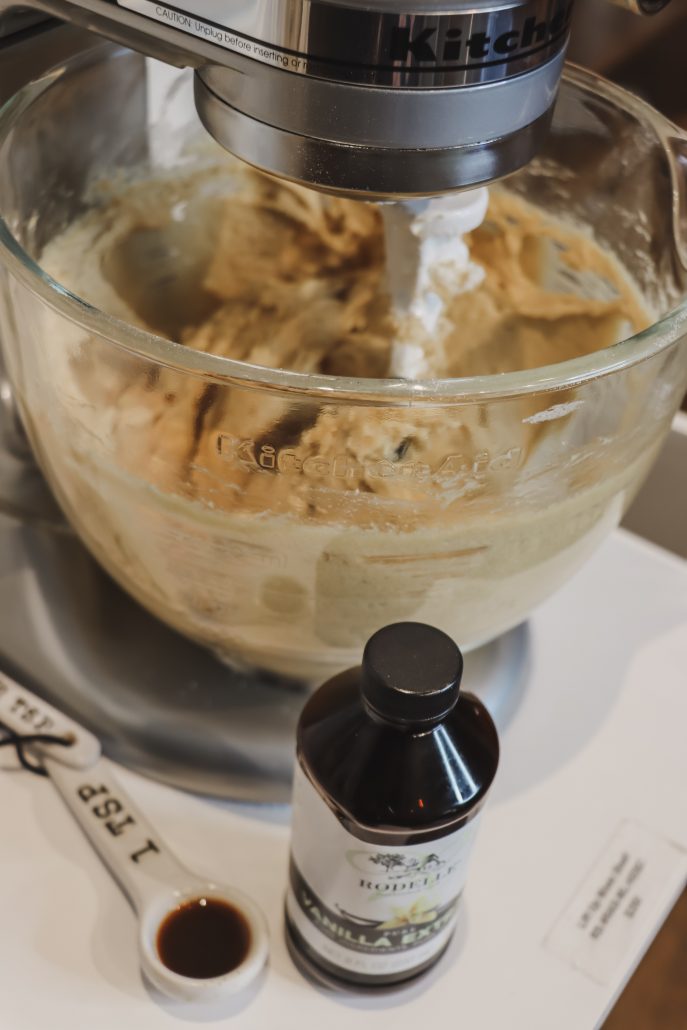
Add egg then vanilla.  Mix on medium speed until combined, about 1 minute.


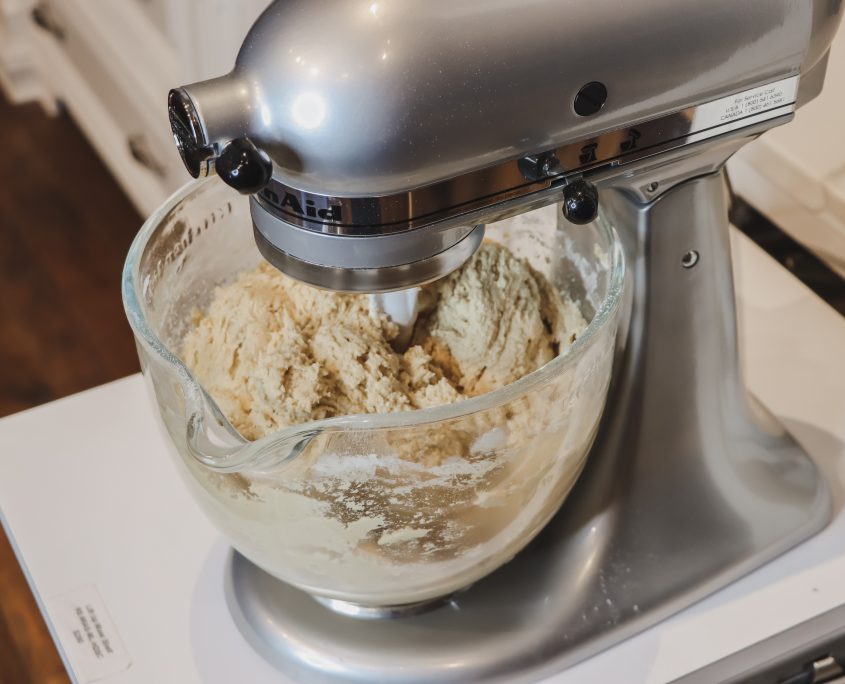
Add in the dry ingredients.  Beat on medium-low speed until just combined.


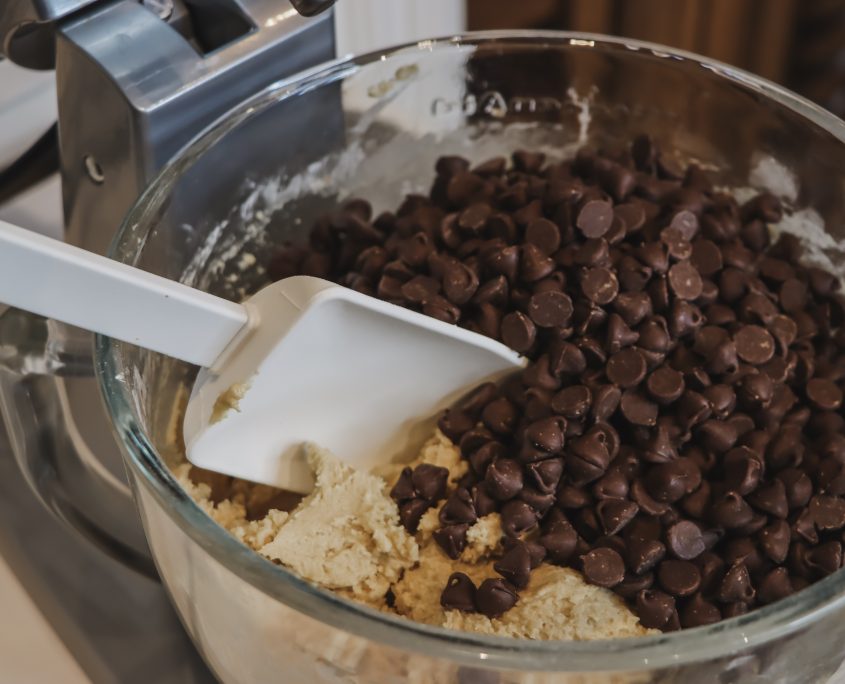
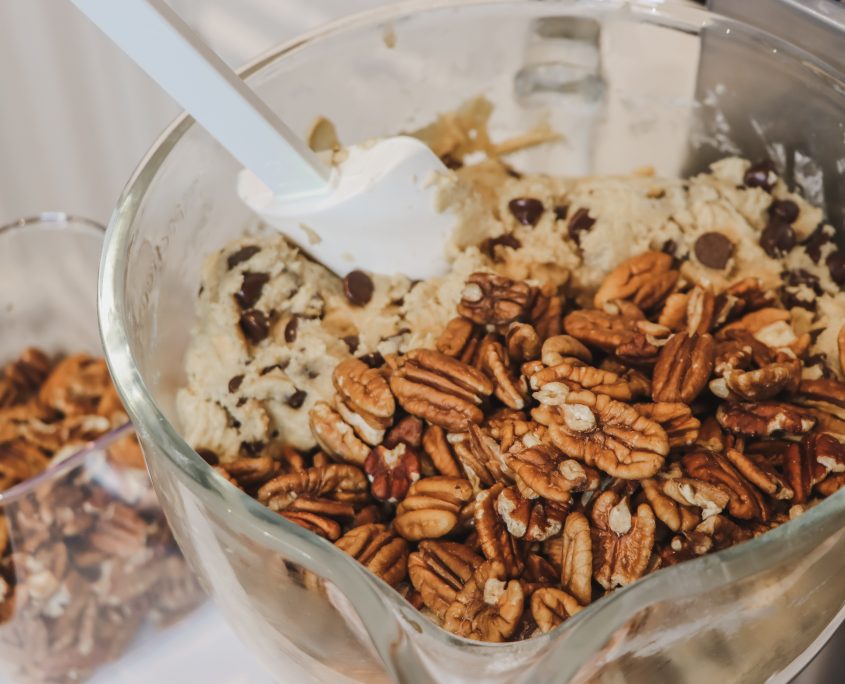
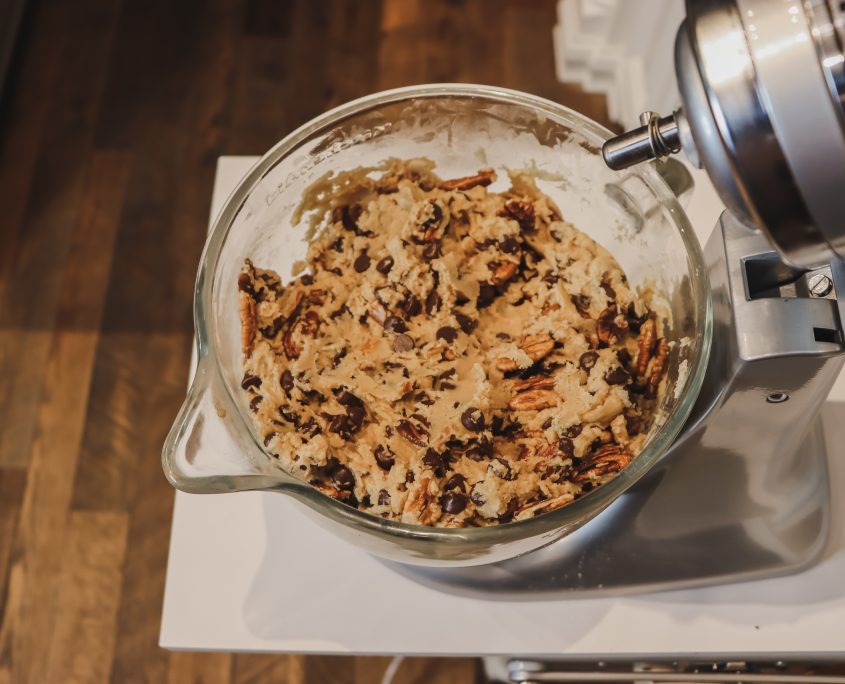
Fold in the chocolate chips and pecans.  Using a spatula or wooden spoon, mix in the chocolate chips and pecans by hand until they are evenly combined.

If you are like me and think there can never be too many chocolate chips … pour in a little more for good measure! 

Same for pecans…. keep adding until it’s nutty perfect! 

Perfection! 


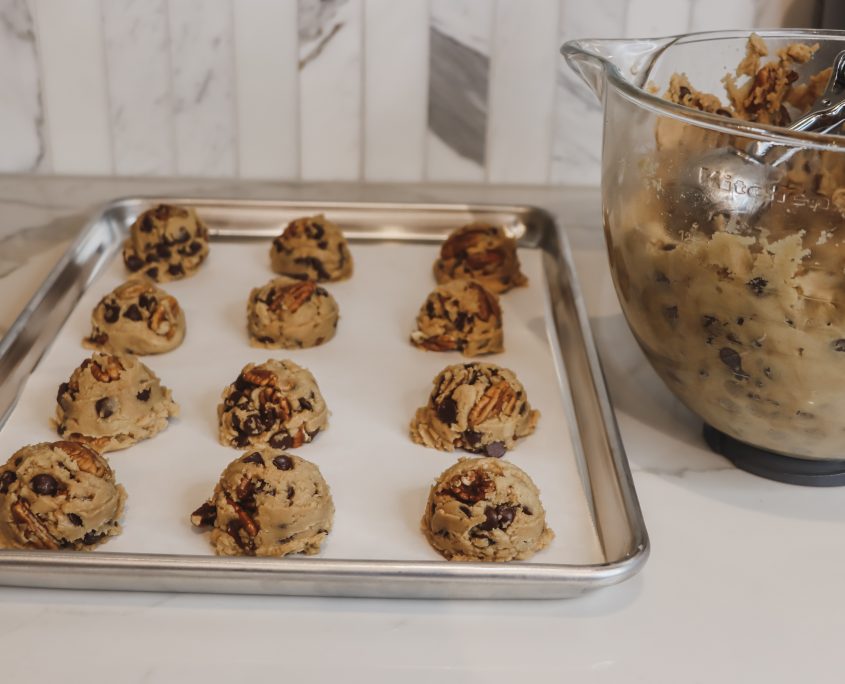
Shape.  Use a cookie scoop to shape dough into balls that are 1-inch in diameter.  Place them on a baking sheet that is covered with either parchment paper or a silicone mat.


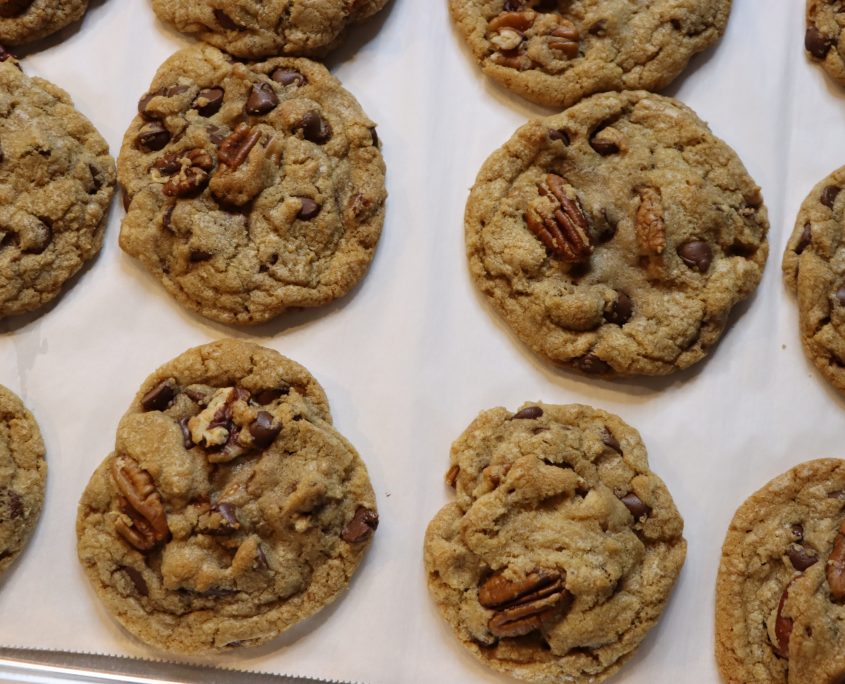
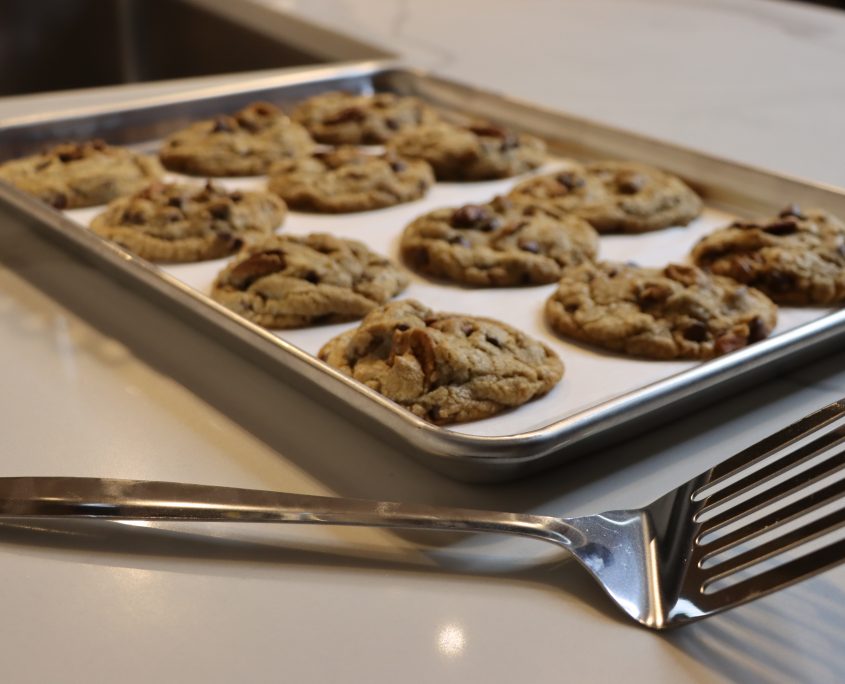
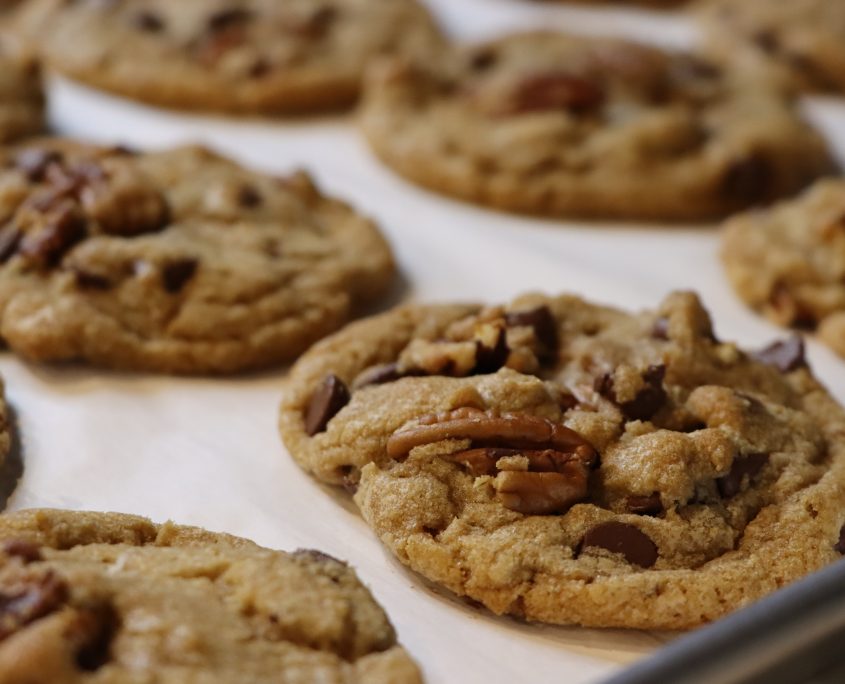
Bake.  For about 12-15 minutes, or until the edges are slightly crispy and the tops of the cookies are very lightly golden.  The centers may look slightly undercooked.


Cool.  Remove the cookies and let them cool on the baking sheet for about 5 minutes.  Then transfer to a wire rack to finish cooling.


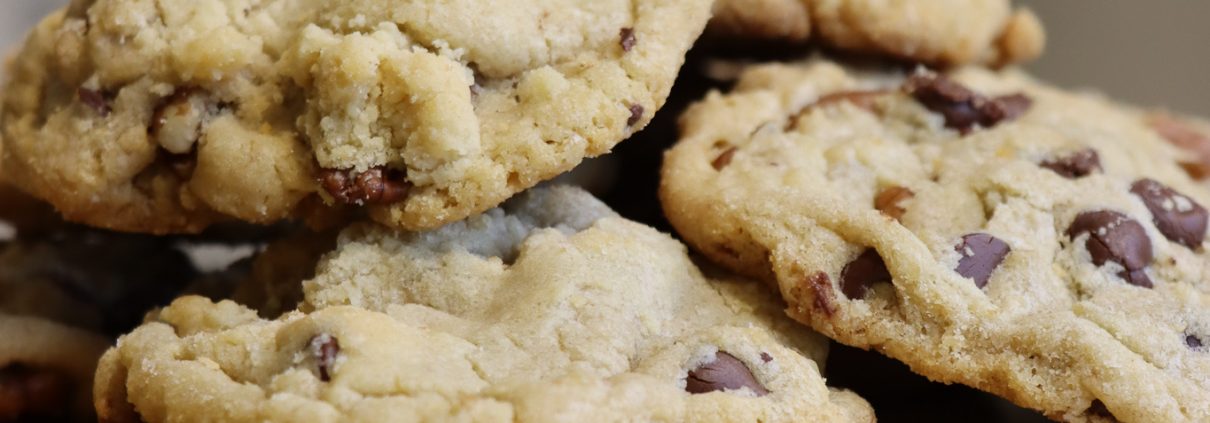
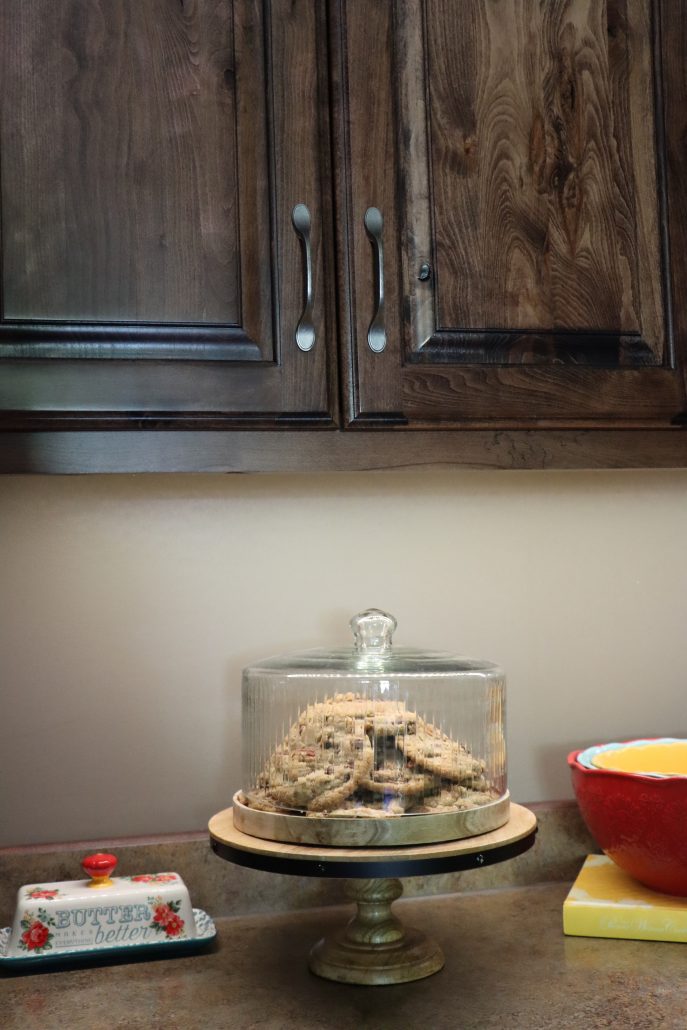
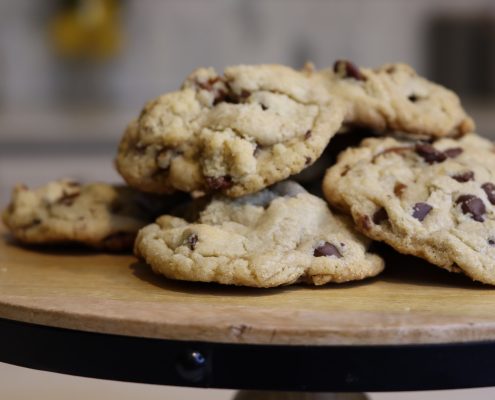
Serve!  The wait is over!  It’s time to dive in while they’re nice and warm and ooey-gooey chocolatey.   These display lovely on the kitchen counter but don’t expect them to last long.  You may want to hide a few for later!


Print
clock clock iconcutlery cutlery iconflag flag iconfolder folder iconinstagram instagram iconpinterest pinterest iconfacebook facebook iconprint print iconsquares squares iconheart heart iconheart solid heart solid icon

Lakehouse Chocolate Chip Pecan Cookies

5 from 6 reviews
  • Author: Twin Oaks Table
  • Prep Time: 10 minutes
  • Cook Time: 15 minutes
  • Total Time: 30 minutes
  • Yield: 4 dozen 1x
  • Category: desserts

Description

These cookies have been a family favorite at the Lake table for many years.  We know once you try them, you will delight in sharing them around your table too.


Ingredients

Scale

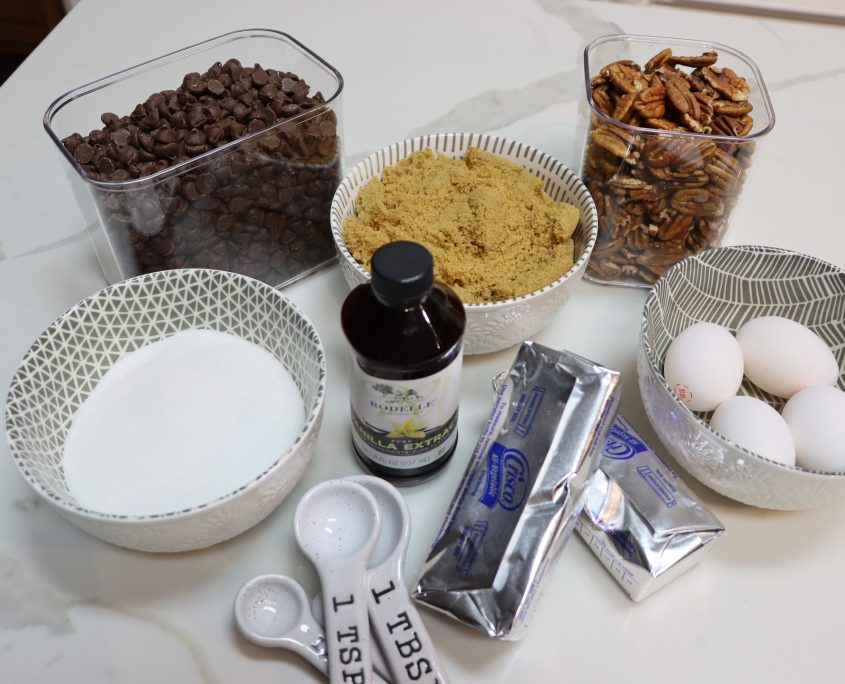
4 1/2 cups flour

2 tsp baking soda

2 tsp salt

2 cups Crisco (reg or butter)

2 cups brown sugar

1 cup sugar

4 eggs

2 tsp vanilla

4 cups semi sweet chocolate chips

2 cups pecan halves or pieces


Instructions

  1. Combine the dry ingredients.  In a medium bowl, whisk together the flour, baking soda, and salt until combined.  Set aside.
  2. Cream together the Crisco and sugars.  In a separate mixing bowl, cream together the Crisco and sugars with a stand mixer or handheld mixer on medium-high speed about 2 minutes until the mixture is light and fluffy.
  3. Add egg then vanilla.  And mix on medium speed until combined, about 1 minute.
  4. Add in the dry ingredients.  Beat on medium-low speed until just combined.
  5. Fold.  Using a spatula or wooden spoon, mix in the chocolate chips and pecans by hand until they are evenly combined.
  6. Shape.  Use a cookie scoop to shape dough into balls that are 1-inch in diameter.  Place them on a baking sheet covered with either parchment paper or a silicone mat.
  7. Bake.  For about 12-15 minutes, or until the edges are slightly crispy and the tops of the cookies are very lightly golden.  The centers may look slightly undercooked.
  8. Cool.  Remove the cookies and let them cool on the baking sheet for about 5 minutes.  Then transfer to a wire rack to finish cooling.
  9. Serve!  The wait is over!  Enjoy warm or will remain fresh in an airtight container for up to 4 days.

Notes

Split the dough after adding chocolate chips for a nut-free option for your guests.

Try substituting other add-ins, including white chocolate chips, macadamia nuts, M&Ms, Ande’s Mint chips, Heath toffee pieces, peanut butter chips, or any other baking add-in you may love.

The cookie dough can be refrigerated up to 3 days or frozen in an airtight container for three months.

Keywords: chocolate chip pecan cookies